While in Canada, I binge watched "Forged in Fire" at my hotel. A few months later, I took my first blacksmithing class in Los Angeles.
A few months ago, someone showed me their knife collection. They were extremely proud as they showcased their knives over video chat and regaled me with the personal history of how they found and purchased them during their travels. Watching them talk, I began to wonder: how much of a challenge would it be to learn how to make a knife?
A few weeks later, I was in my hotel room in Kananaskis in Alberta, Canada. Restless from mental chatter while trying to sleep, I turned on the television. Flipping through the channels, I became transfixed by the show “Forged in Fire”. After seeing the competitors work, mold and pound their metals, I began to see the craftwork of blacksmithing.
That settled it. I was going to take a blacksmithing class when I got back to Los Angeles. Per usual, it wasn’t long until I made it happen.
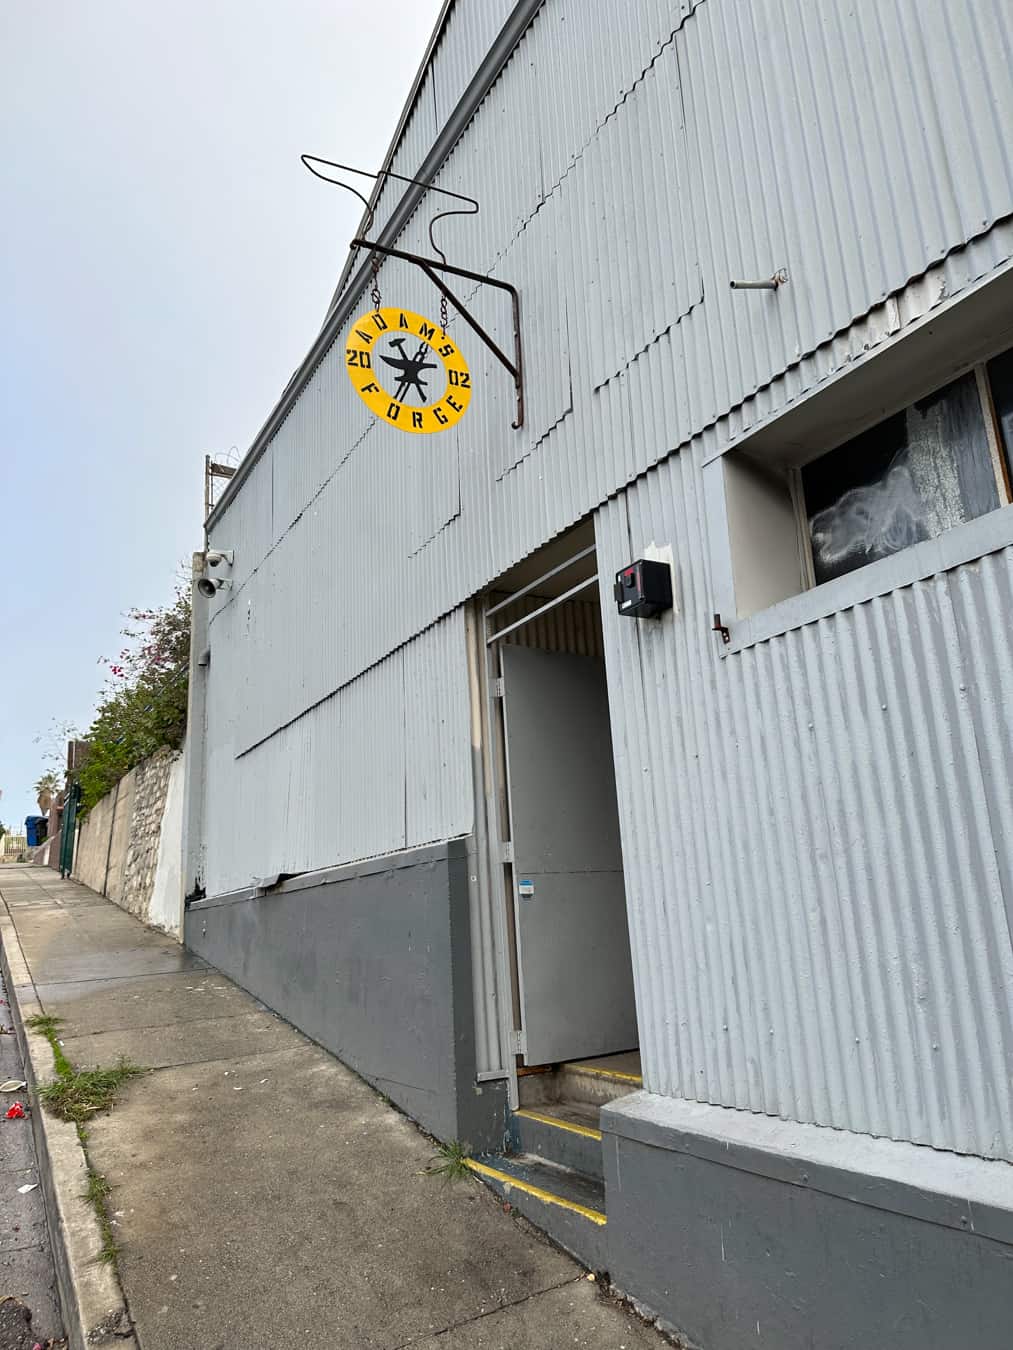
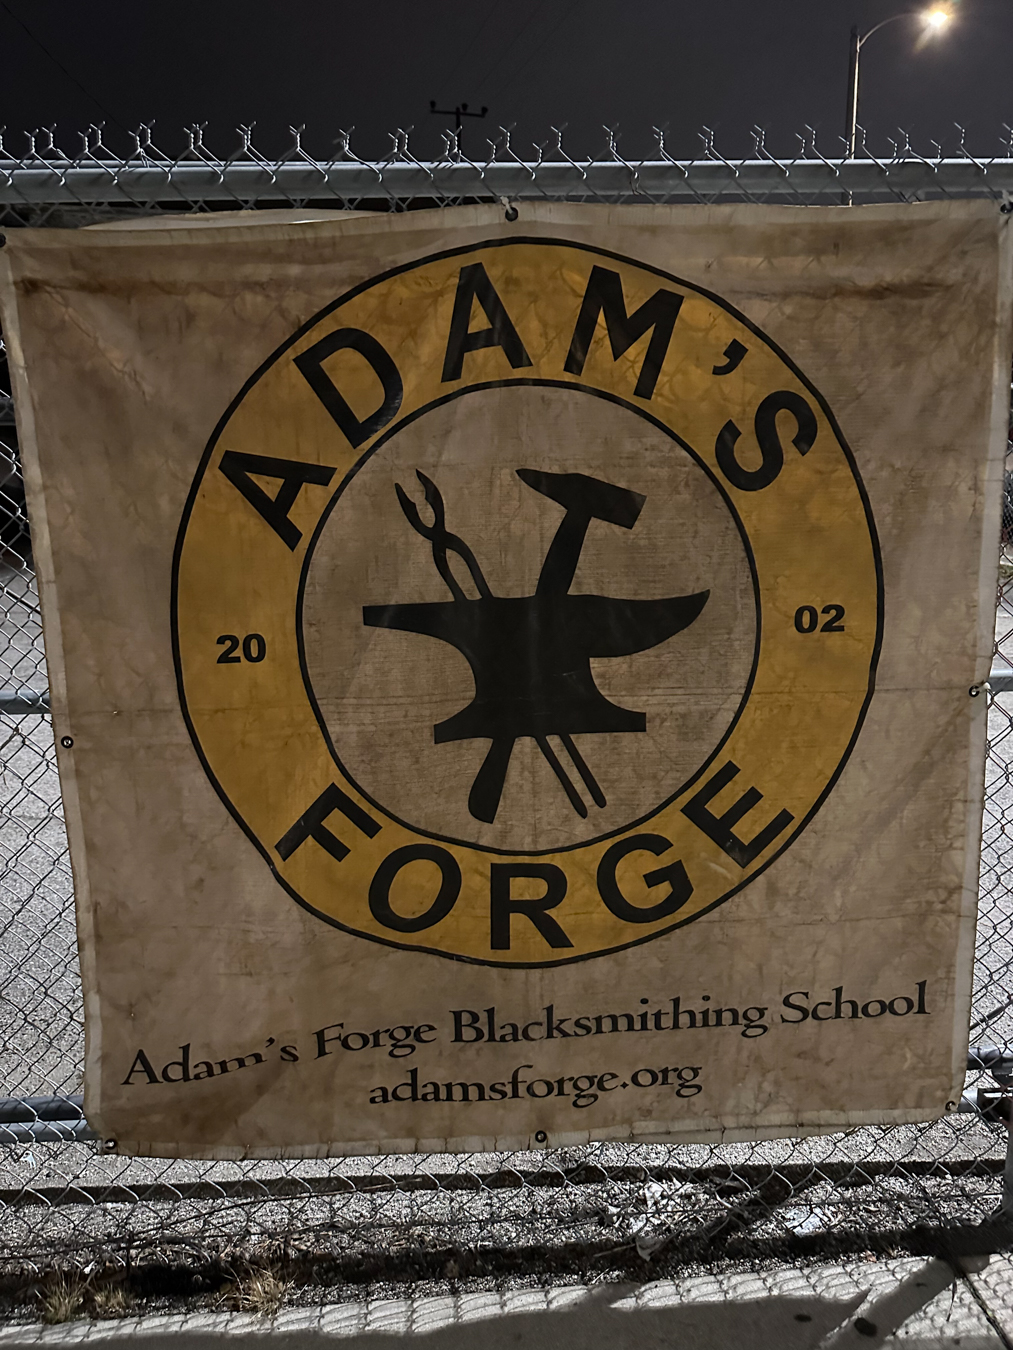
The first thing I appreciated about Adam’ Forge is that thy have their own, well lit parking lot. Since it’s in a mixed industrial and residential area, this was very appreciated. Upon entering, the space is large, clean and impressive.
Blacksmithing Tips:
- Beware of black heat. Always assume your steel is hot. Use the back of your hands to sense heat, as it’s more sensitive to heat than the front of your hand.
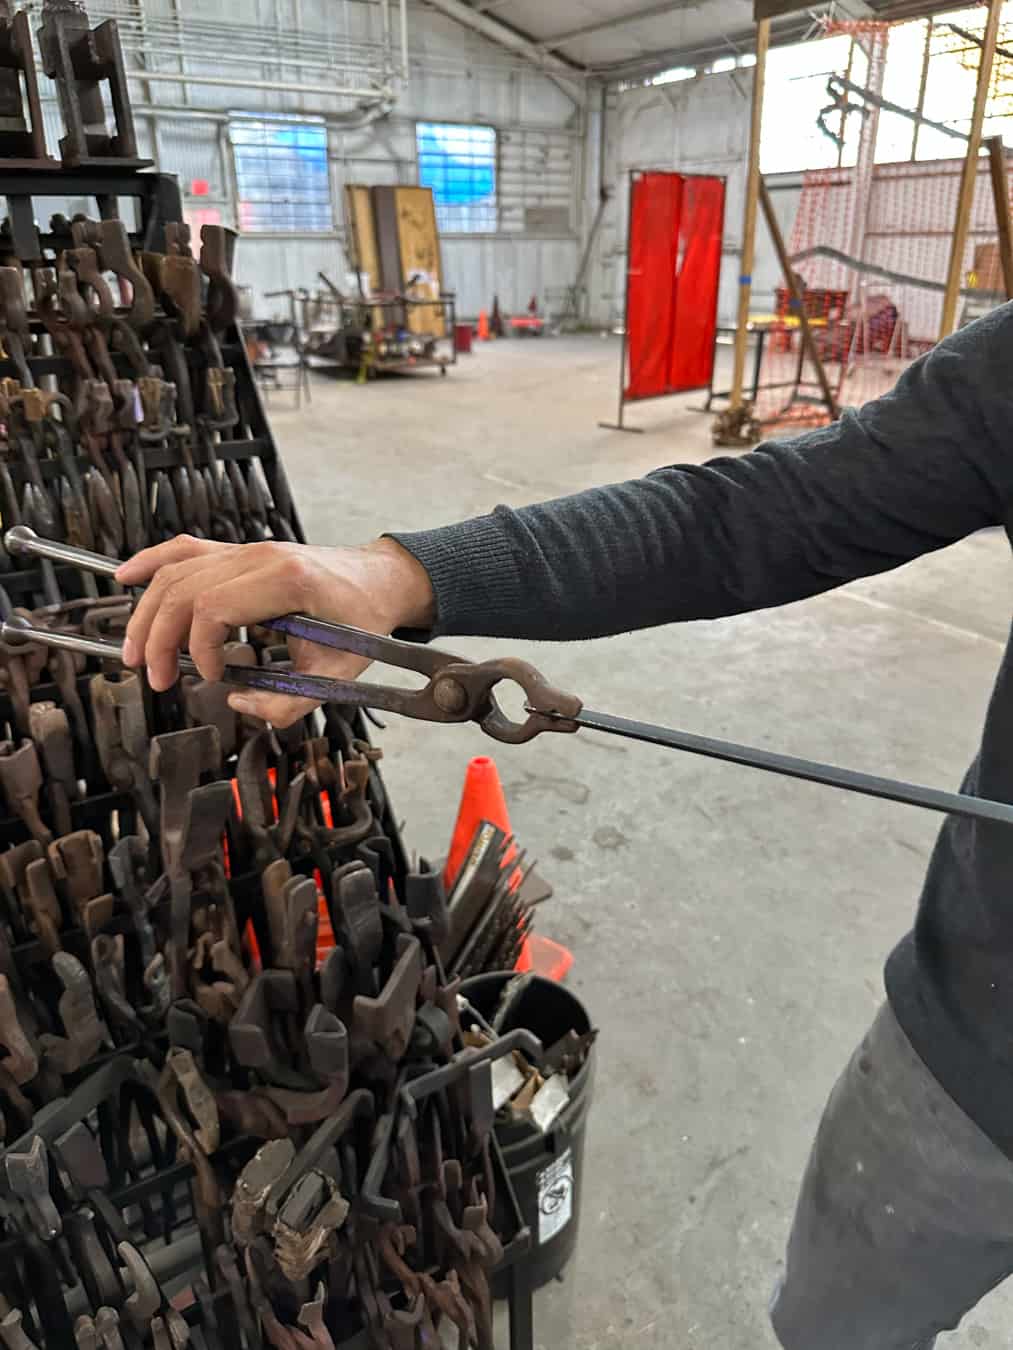
- If your tongs begin to transfer heat and get warm, immediately use the quench tanks to cool them down.
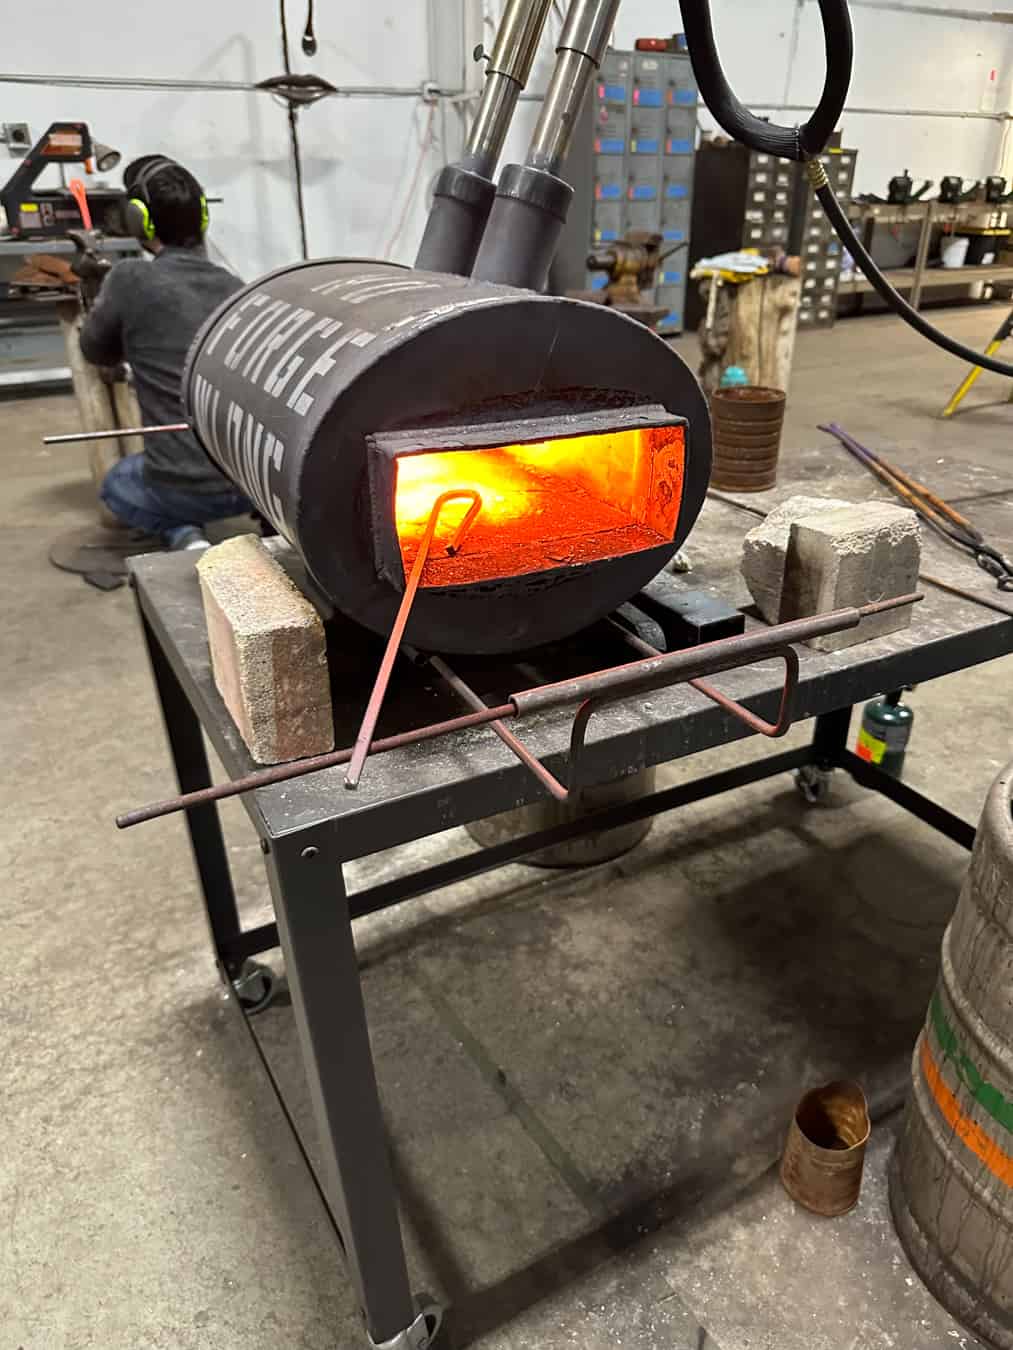
- Always remember to put your metal in diagonally, in the heat source. This is the ensure that the end of your piece is out of direct focus of the heat.
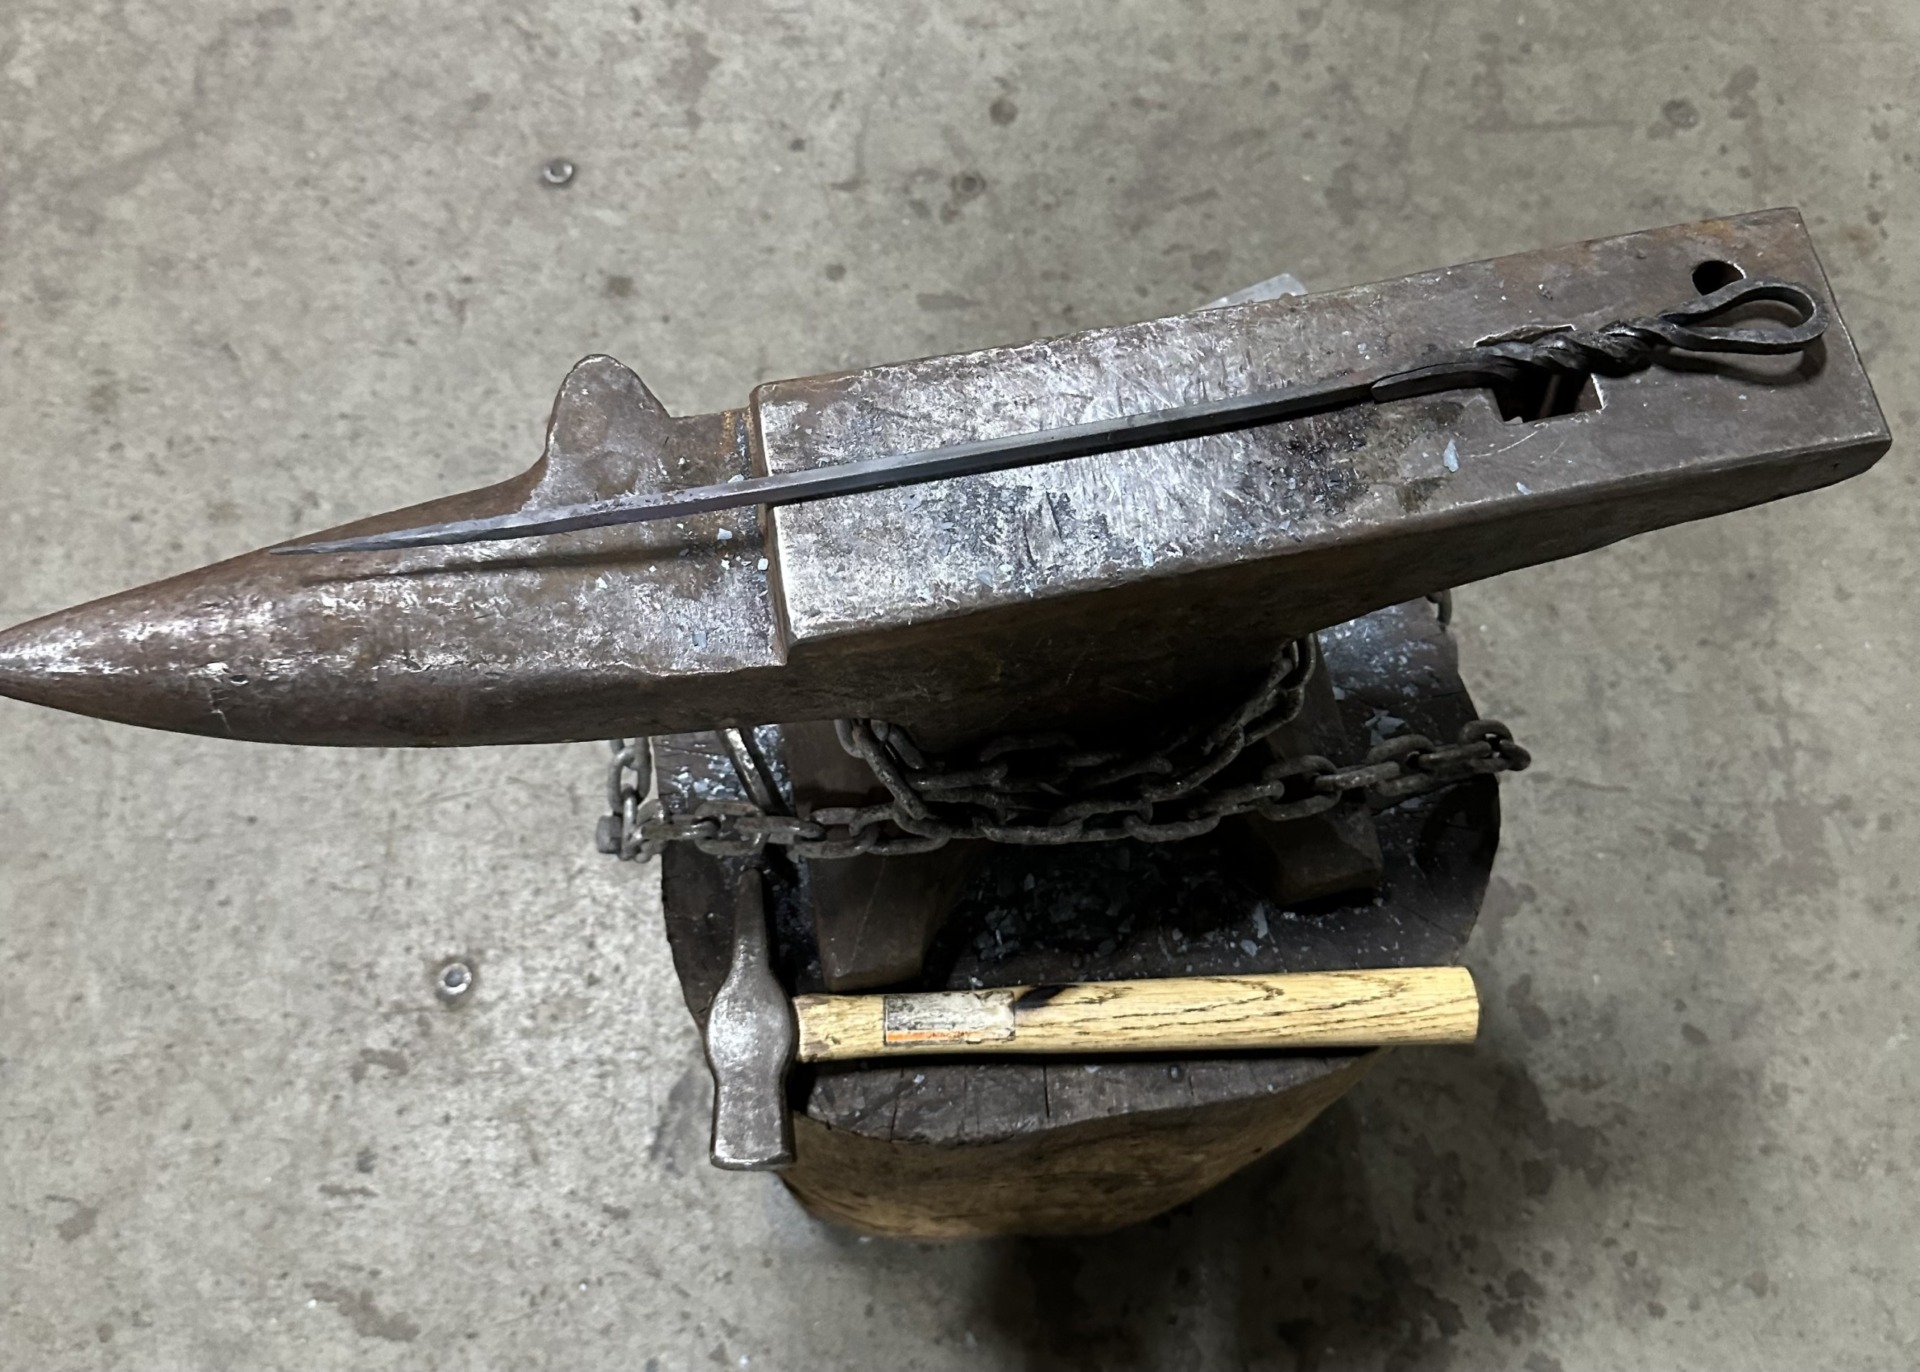
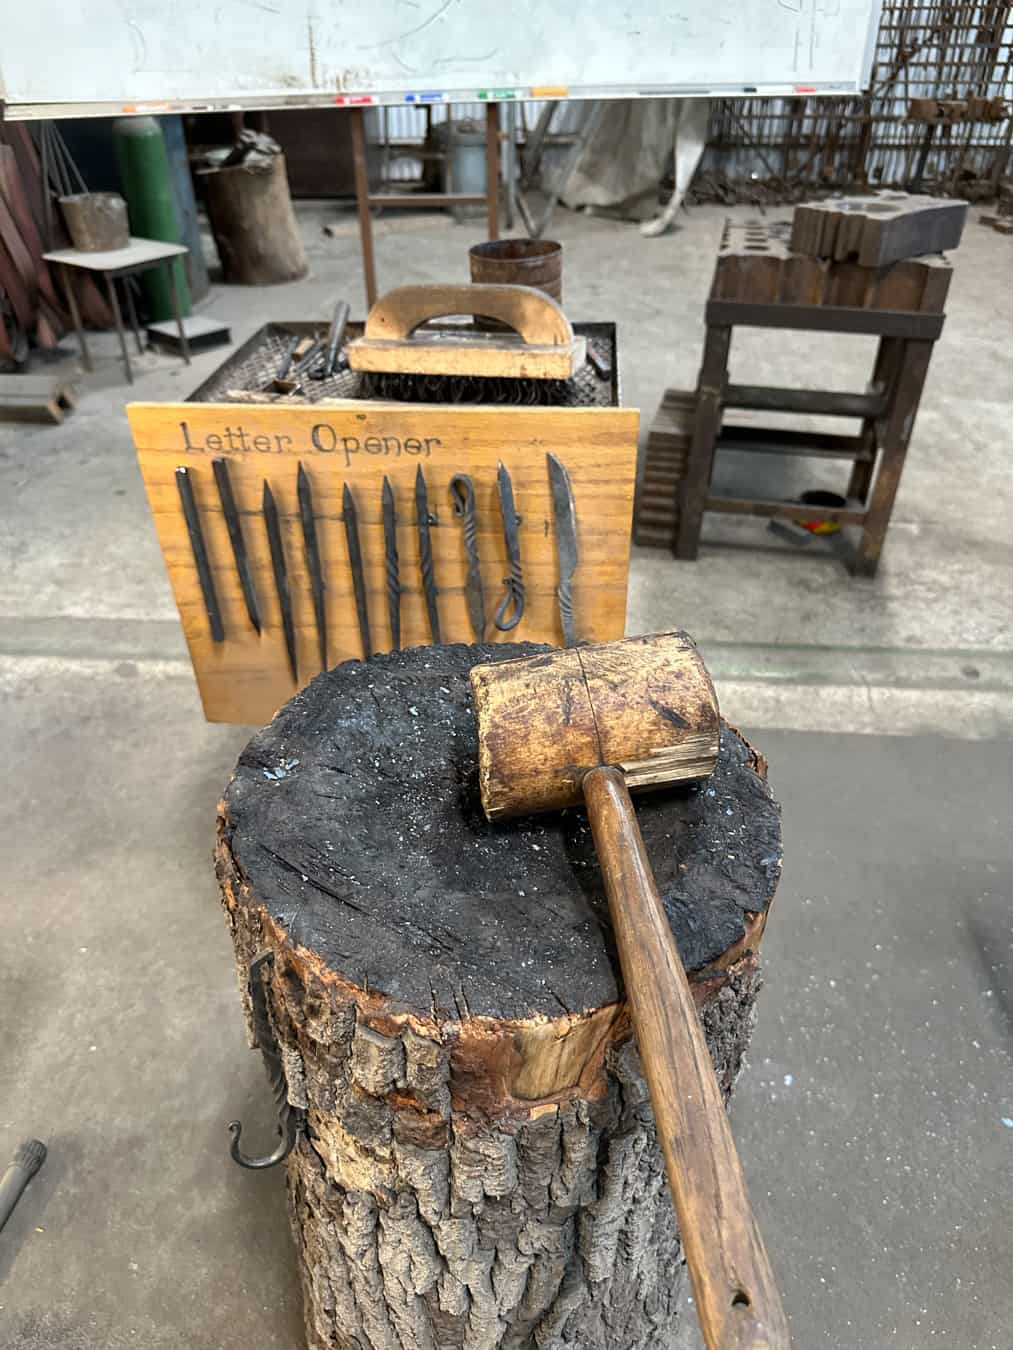
Classes at Adam’s Forge are done in a demonstration / work style. First, we chose our tools and placed them at our awls. Then, we sat in the classroom area and watched the process.
I cannot deny – this was awesome AF.
Blacksmithing Tips:
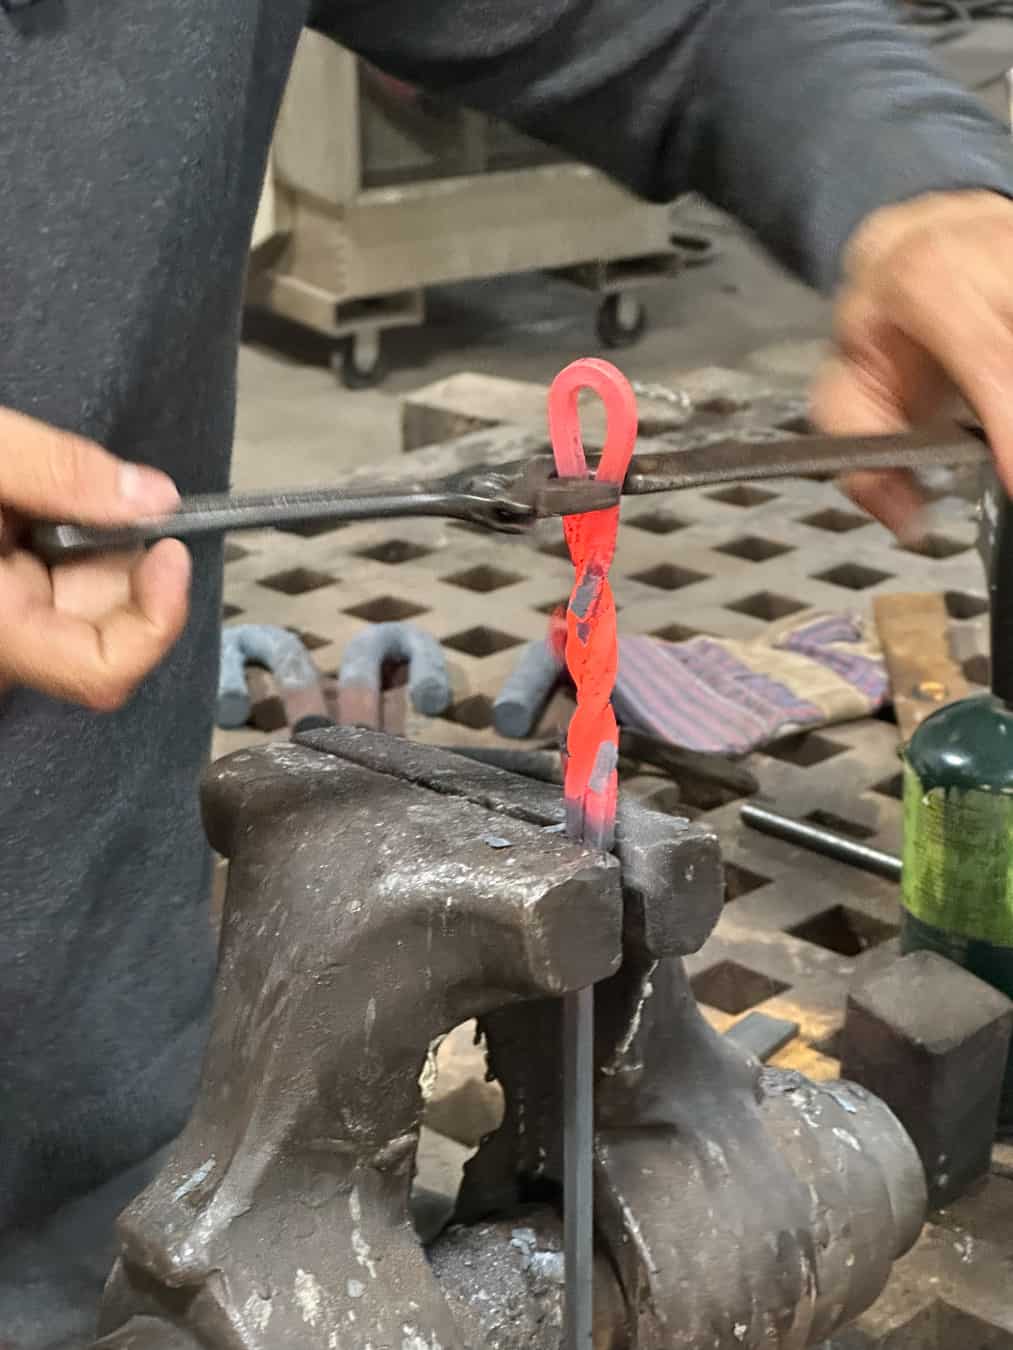
- Scale is a type of rust that accumulates and is a byproduct of forging. You do not want it on your piece. Always use your wire brush to scrub the scale off. Wire brushing create a smoother piece.
- When using a twisting wrench, try to consistently pre measure it to the steel width.
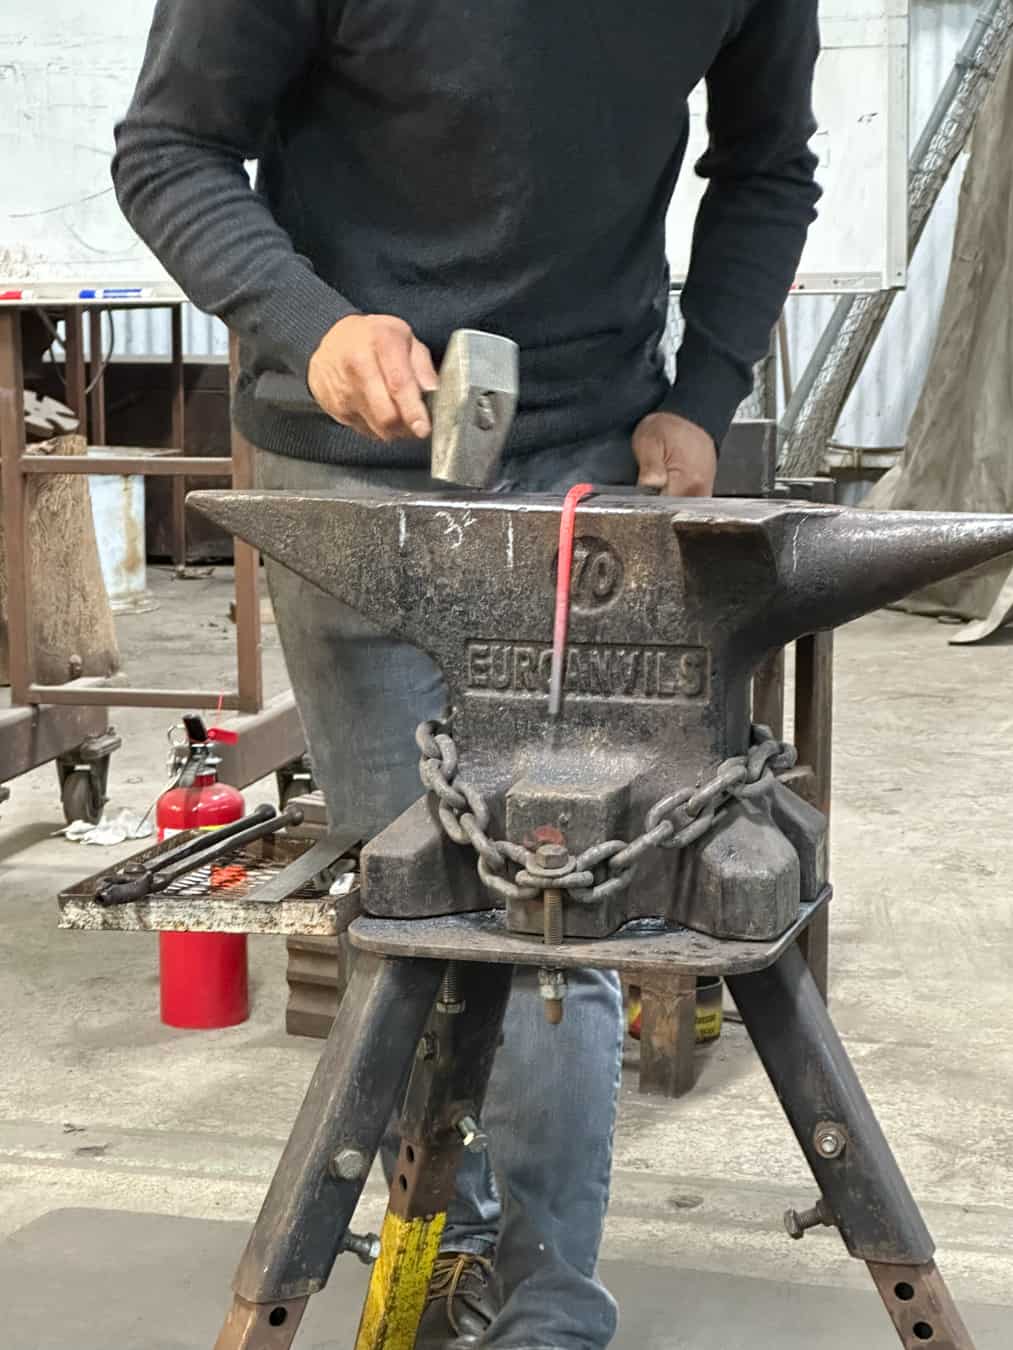
- In hammering, the higher your grip on the shaft, the more control you will have. However, you will sacrifice power in your swing. The lower in the shaft you hold, you will have more power – but less control.
- When swinging the hammer, move from your SHOULDER, not your wrist or elbow.
- Always make sure that you have FULL enclosed grip on the hammer, with your thumb NOT on top – but wrapped around the shaft.
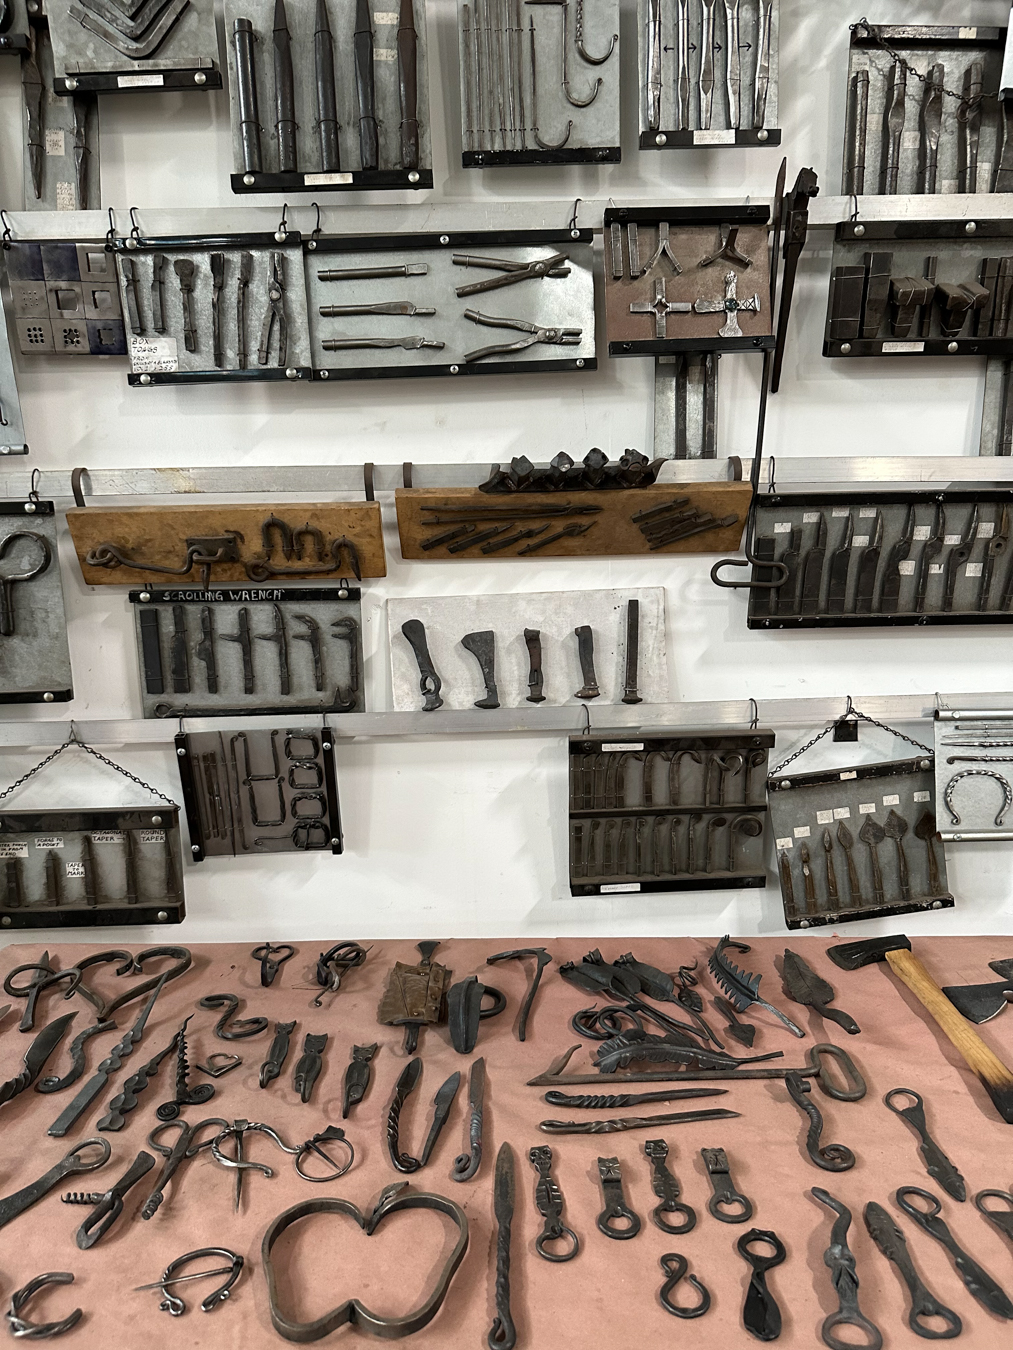
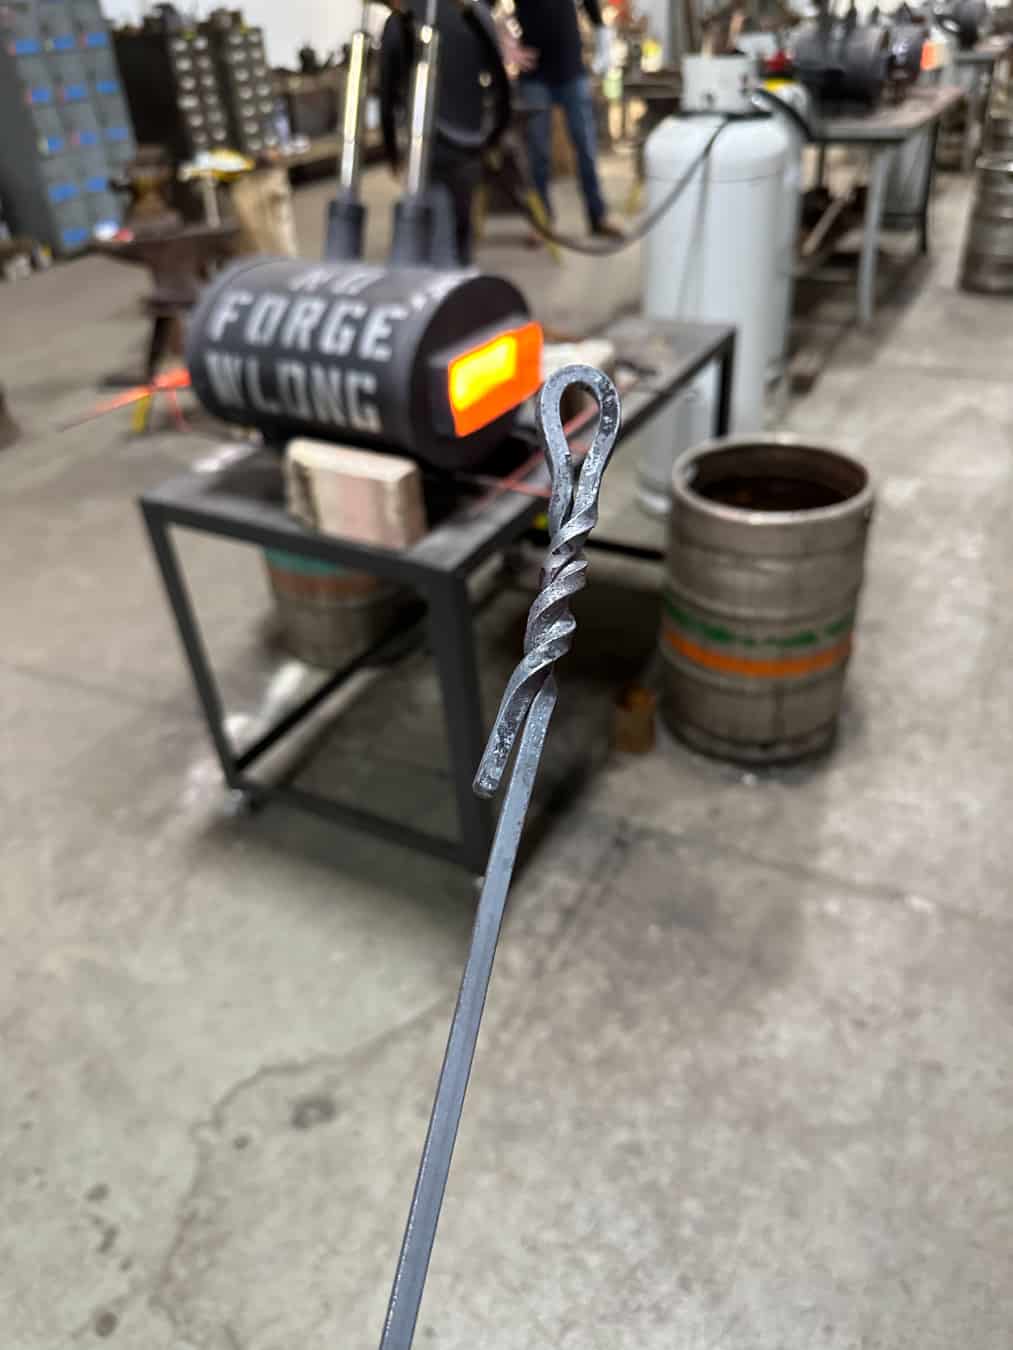
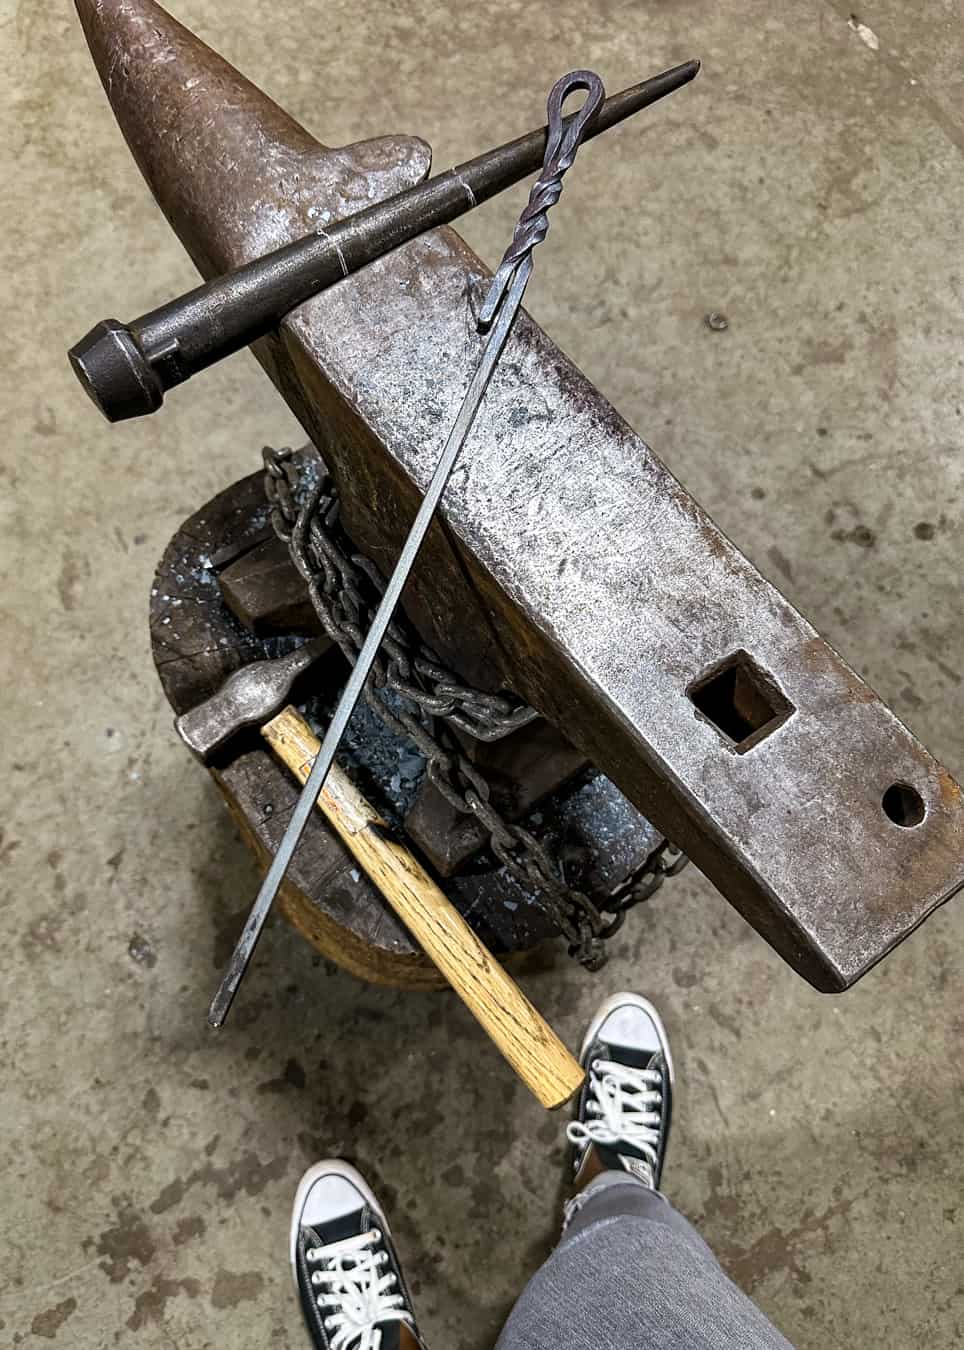
We used drifts to make the loops in our tools uniform, learned about different blacksmithing terms that are now a part of English vernacular and just had fun. I hammered so much that I reached a point where didn’t want to hammer anymore. I learned how to round corners, move steel, bend steel on the anvil horn and twist it.
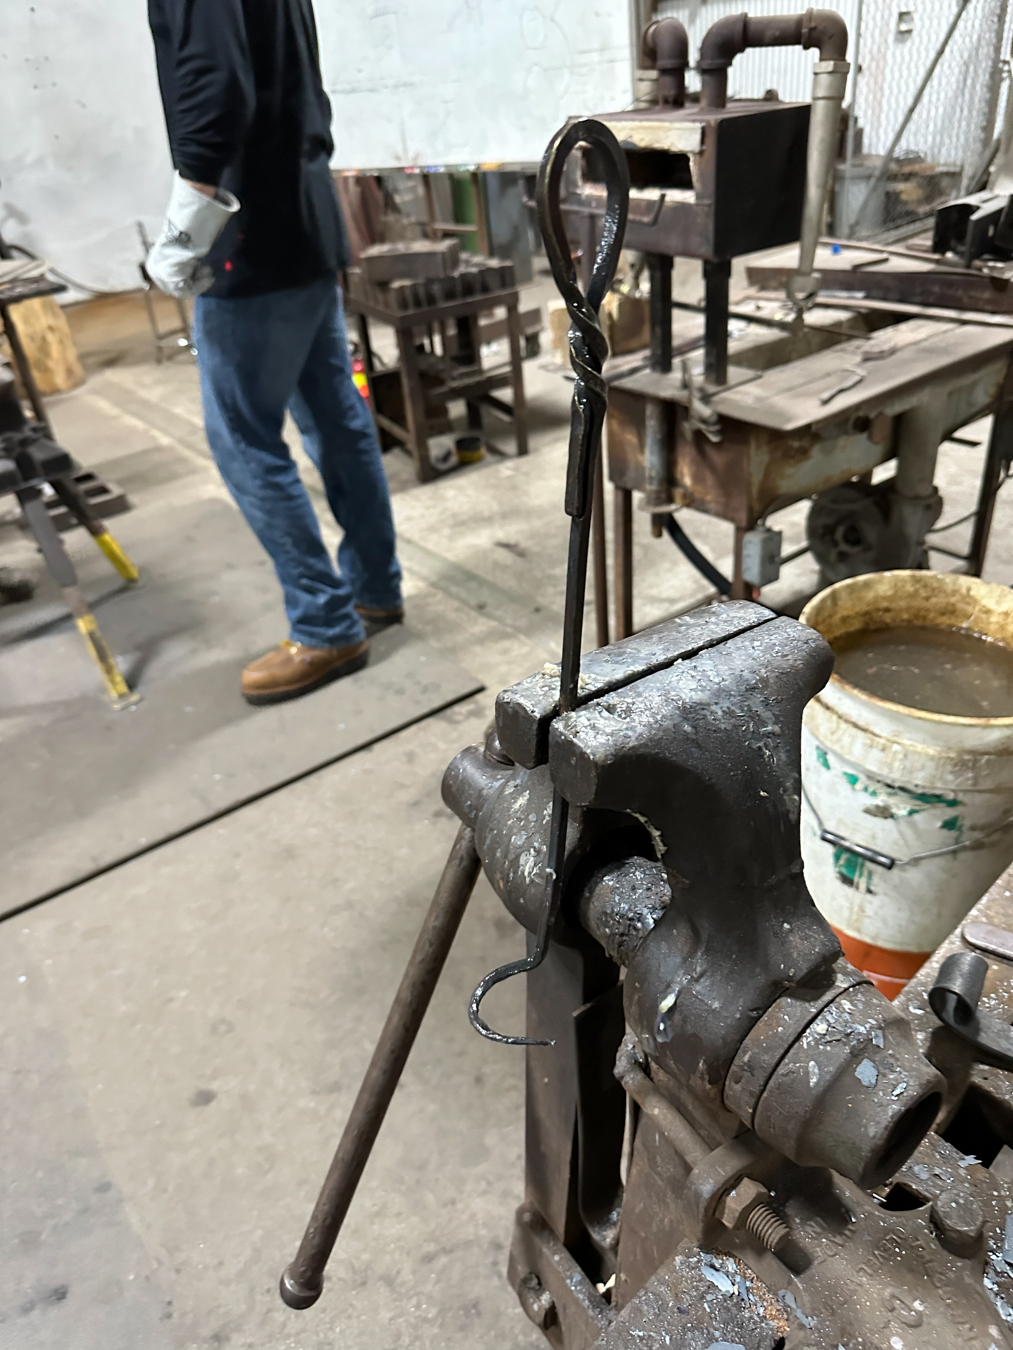
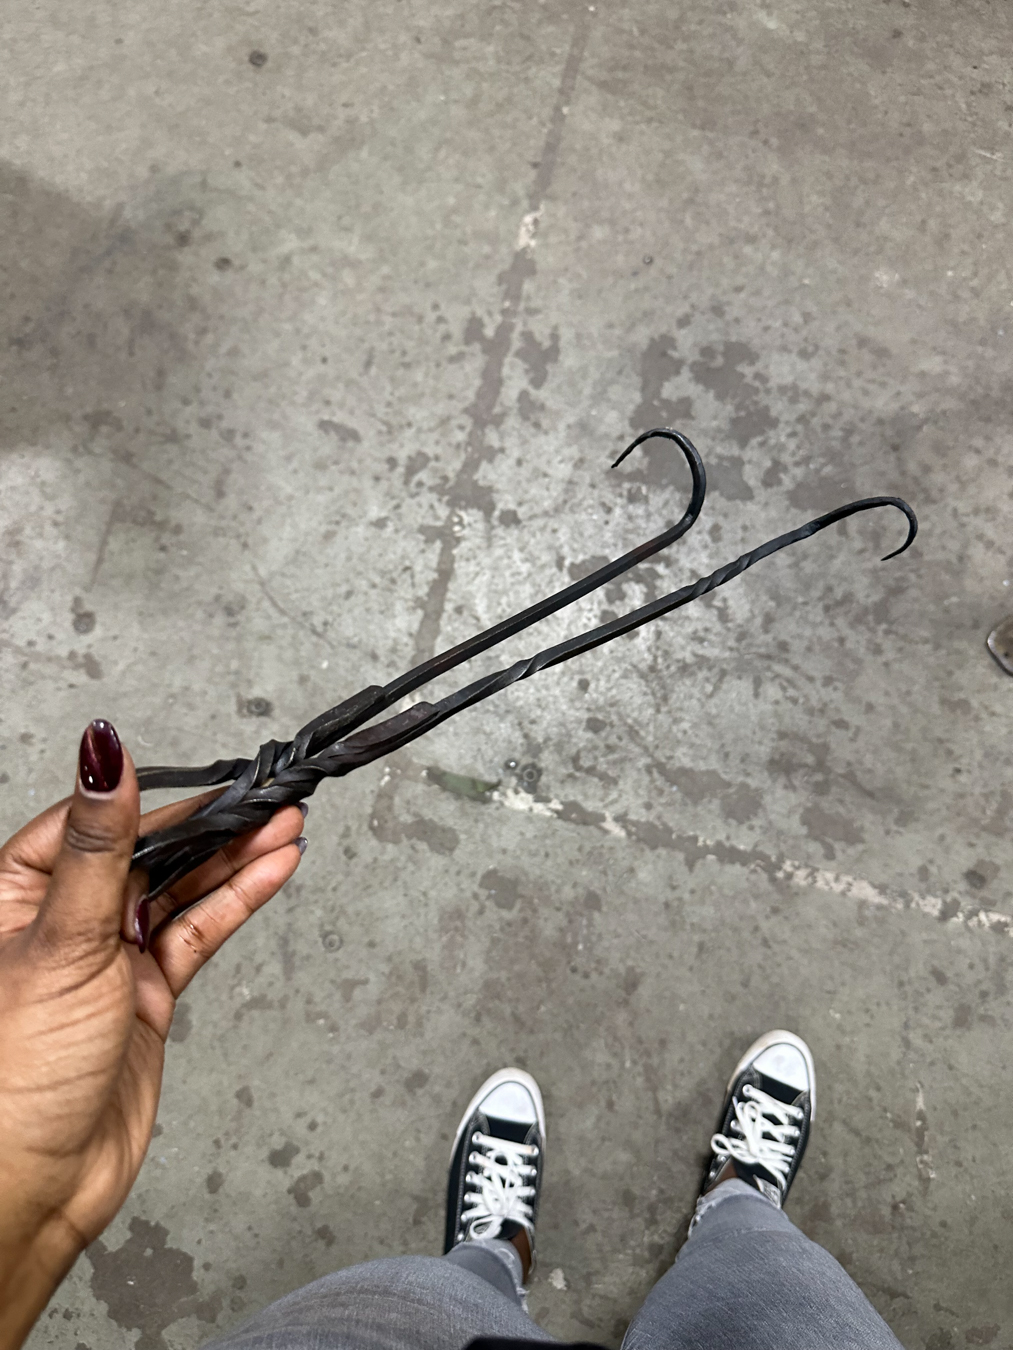
Due to the small size of the class and the duration of time, we were able to make two items. Muscle memory made the second attempt a bit faster and better. I know I skipped a few steps. But, I had so much fun.
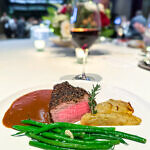
Frankly, I know I won’t use these tools to flip meat on my Traeger. However, I’ll probably use them in my fireplace the turn logs and illuminate embers.
The BBQ Tool class at Adam’s Forge was great. I will be back for the letter opener class, as it’s a prerequisite for knives.
Adam's Forge
2910 Humboldt StLos Angeles, California 90031